Your cart is currently empty!
Installation a gate by watch full video
3 min read
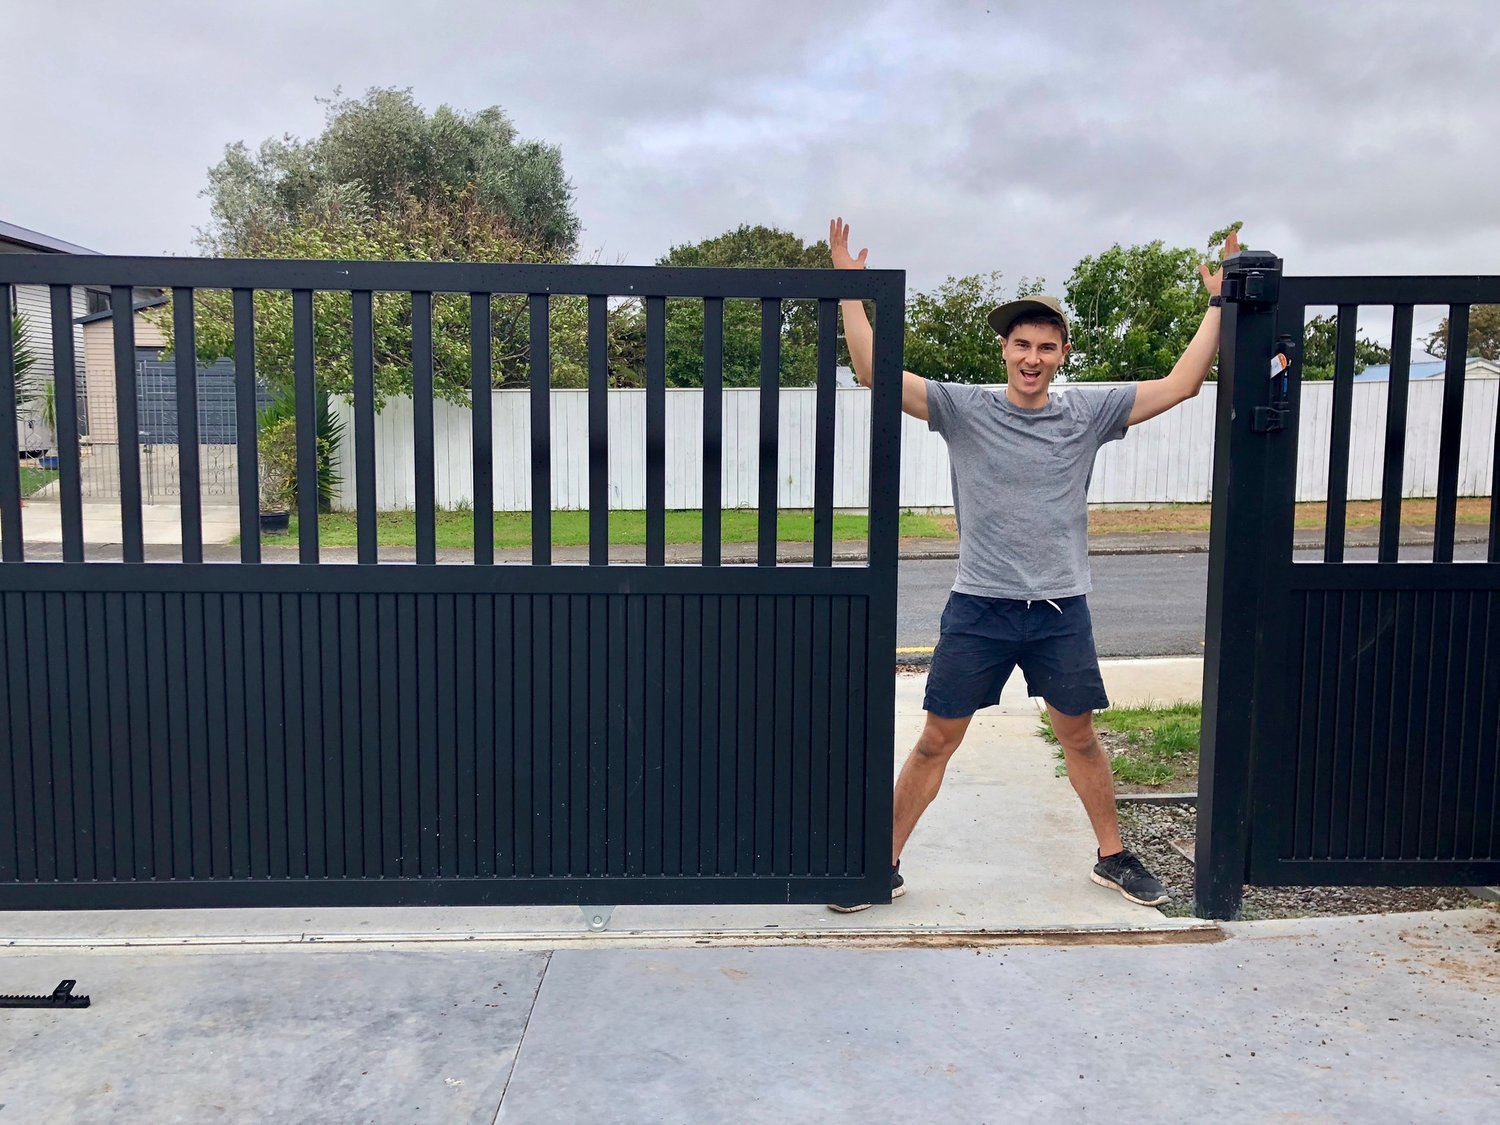
Installation a gate yourself is a cost-effective way to get the entry you want, creating privacy and security. I ordered my gate from GetaGate, who have a range of top quality standard and customised aluminium gates and fences available. Best of all, they were the most affordable gates I could find. They make it easy for home owners and the weekend handyman to do this project – with the right products and accessories.
Step 1: Planning & Selecting your Gate – Installation a gate
Every driveway is different, so take time to plan the type and size of gate for your space. Make sure there is sufficient space to achieve an opening size you want, and adequate track runoff for when the gate is opened.
If automating your gate, the gate needs to be 300mm longer than the opening width to allow the motor to operate. If you do not have space for a sliding gate, consider using a swing gate.
Step 2: Preparation – Installation a gate
Concrete Surface: Its important that you have a suitable surface for your sliding gate to roll across. The surface needs to be straight and consistent, for both the opening width and the runoff when the gate is opened. It is not essential to be flat, if the slope is consistent across the length of the track.
Posts: If you do not have existing posts in place or require an extra post for a pedestrian gate, make sure you install all posts consistent with your fence line and dig a deep foundation (deeper is better than wider). Poorly installed gate posts account for the majority of gate problems.
Using the face of the posts from the existing fence, continue a straight line across the opening width to line up the position for the catcher post. Making sure the post is square, bracing it and concreting it into place.
Step 3: Gate Track – Installation a gate
The centre of your track will be approximately 80-100mm from the face of your posts. Taking all the track lengths out, lay them on the ground before fixing any down. Using a string line or straight edge make sure they are kept in a straight line the full length. If there are any inconsistencies with your concrete surface, pack under the track to make sure properly supported.
To fix the track down, predrill holes in the concrete and use concrete screws. Start with a few screws in each track length initially to fix in position and test the gates roll correctly before doing all screws.
Step 4: The Gate – Installation a gate
Lay the gate flat on the ground on something soft. Measure the locations for your 2 wheels to be fixed, generally 25% in from the end of your gate. After pre-drilling the holes, fix your wheels to the gate with metal screws.
I have used the standard trapeze wheel. For a lower profile, a semi-recessed wheel can be used to bring the gate closer to the ground.
Step 4: Guide Bracket
Once the wheel track is positioned you can install the guide bracket above the gate. Positioned on the post behind the motor this bracket is to prevent the gate from falling over and guide it left and right.
This will straddle the top of the gate, there is some adjustability in this bracket to accommodate how far your gate is off the fence. – fix the bracket to the post securely.
Step 5: Gate Catcher and Stopper
The Gate Catcher guides the gate to the closed position and prevents the gate from being lifted off the track. Fix to receiving post to receive the gate when closed.
At the opposite end, when gate fully opened, install your Gate stopper. This can be installed on the ground or on a fence post. This is important from a safety aspect, to avoid the gate running off the wheel track or guide bracket.
The gate will now freely roll back and forth along the track, stay straight from the guide bracket, and have a set open and closed position with the gate catcher and stopper.
Step 6: Automating your gate
If you choose to automate your gate – which I highly recommend – there are a few additional steps.
First you need to decide between mains power or solar power. If you go with mains power, you will need to have a power supply available to the location of your motor. Where this is too difficult or expensive, solar power may be a better option.
The motor unit will need to be located on the ground below the guide bracket. Fixed into and Sitting on a level concrete surface.
The gear rack needs to be fixed to the gate to a height where it sits on the motor gear. Before fixing the rack to the gate, make sure it rolls smoothly and at the correct height. Fix the rack at each end and then continue with subsequent lengths. Check that the rack is rolling smoothly over the motor, adjust height as needed, and then fix all screws.
You may need to cut the last length of rack to fit your gate size.
The final step of connecting and livening the motor, I arranged with an electrician.
Step 7: Get the remote out and open, close, open, close…..


Powered by BetterDocs